Pages

It's A Party

Here is a layout for another themed party I am working on for hostesses. Tiffany Cheney designed this one too! I used the It's A Party stamp set and the following colors: chocolate, crystal blue and sweet leaf. I really like how the pattern background turned out from random stamping images from this stamp set. The different colored rings were one stamp set. The great thing about acrylix is that you can cut them apart. I used my xacto knife and slowly and carefully cut the two inner rings out, so I could stamp them a different color. YEAH!


I will have the rest of this theme done to show you next week!

Have a great weekend and find time to create!

Beloved Blossoms Thanks

The stamp set I used as the main image on this card was not a favorite in the 2007 Spring CMTH Idea Book; however, I really liked it. I am hoping that you see how it goes with the Caprice paper pack beautifully. I have had a lot of fun using the same paper pack and different techniques to make a few cards with multiple themes. It shows how versatile one Level 2 CTMH paper pack is to use in both layouts and cards.

This is another 6 x 6 card. I used solo "t" for the thanks sentiment and obviously for the solo letter. This was a 9 x 9 layout from CTMH corporate that I adapted to make a card. As you can see I am into using twill ribbon lately and photo hangers. Hope you enjoy this one too! I am going to feature this technique on the next Technique Tuesday and show you a card made with the same dimensions and theme, but different paper and main image. Stay tuned!

Thanks for stopping by!

With Sincere Sympathy...

When I talk to people about making cards, they say they never have sympathy cards when they need them. I chose to make a sympathy card for my paper distressing display, because of this. I wanted to give them an option for this type of card. I used the dry embossing technique to distress the chocolate paper. I covered the dimensional element slide with pattern paper from the Caprice paper pack. To add more texture, I added natural hemp to the slide and a Just Blooms sunflower with brads to the bottom right side. Hope you like it!


Oh, I forgot to mention on yesterday's card that I put waxy flax through the buttons on the sunflowers. I love waxy flax and would not use buttons without it. Thanks for mentioning that in your comments Jeanne!

Happy Stamping!

Technique Tuesday - Edge Distressing

This is one of the techniques I am dispalying on the Paper Distressing Endless Possibilities boards I am working on for another gathering choice next year. Distressing the edges of paper is popular and makes cards and layouts look so rustic. I took this 6 x 6 card idea from a 9 x 9 layout corporate created. I used the Caprice Paper pack and It's A Party stamp set. The colors used honey, crystal blue and chocolate.

Edge Distressing
  • Hold your piece of cardstock in one hand and the edge distresser in the other.
  • Run the edge distresser up and down the edge of your cardstock until you get the desired look.
  • In addition, you can use your scissors instead of your edge distresser. I prefer the edge distresser, so I don't cut the paper.

As you can see the three pieces of cardstock have been distressed. I used the new CTMH edge distresser, which is only $1.50. It is totally worth it! After distressing the piece of colonial cardstock, I ran it over my chocolate ink pad. I finished the card off with sunflower just bloom flowers with buttons and crystal blue organdy ribbon.

Now, it is your turn!

Happy Stamping!

Direct to Paper

Good news for me! I can leave the Caprice projects I posted last time on my display board. My upline, Chris, came through for me. She has a bulk Caprice paper packet that I can buy. YEAH! Since I found that out today, I used the same Caprice paper for this card. BTW, these Caprice paper designs are not mine. These projects were designed by corporate. I am using them for the same type of display board idea I got from the CTMH convention I attended. Boy, I am so glad I went there. My head is still full of ideas waiting to get out!

I like this card, because it doesn't have a sentiment. It can be used for any occasion you need. This card shows the ink direct to paper technique, which is always an easy way to distress paper.


The accessories are twill ribbon, natural hemp and a metal-rimmed tag. I just used a one inch punch to punch out a flower from the pattern paper to adhere to the rimmed tag.

Boy, I didn't get much stamping done today. Both my boys and DH were home and we just relaxed all day. I guess we started the holiday a little early. It did snow today and my boys were so excited to get out to play. We didn't even get an inch, but my DH had to play, because I had to go to the grocery store along with most of the people in Omaha. It is the only time I was glad to go to the grocery store.

HAPPY THANKSGIVING!

Caprice Thanks

I made this card for a technique board I am making to display different paper distressing techniques. This shows paper tearing. Now, I have to use a different paper packet, so it will be sent to someone instead of being displayed. I liked how the card turned out with the Indian Corn Blue cardstock base. This is a new paper pack from the CTMH fall/winter idea book. It looks much better IRL, especially when used with the blue paper. The "T" is from the new Homestead Alpha "E" sized set. Hope you like it!

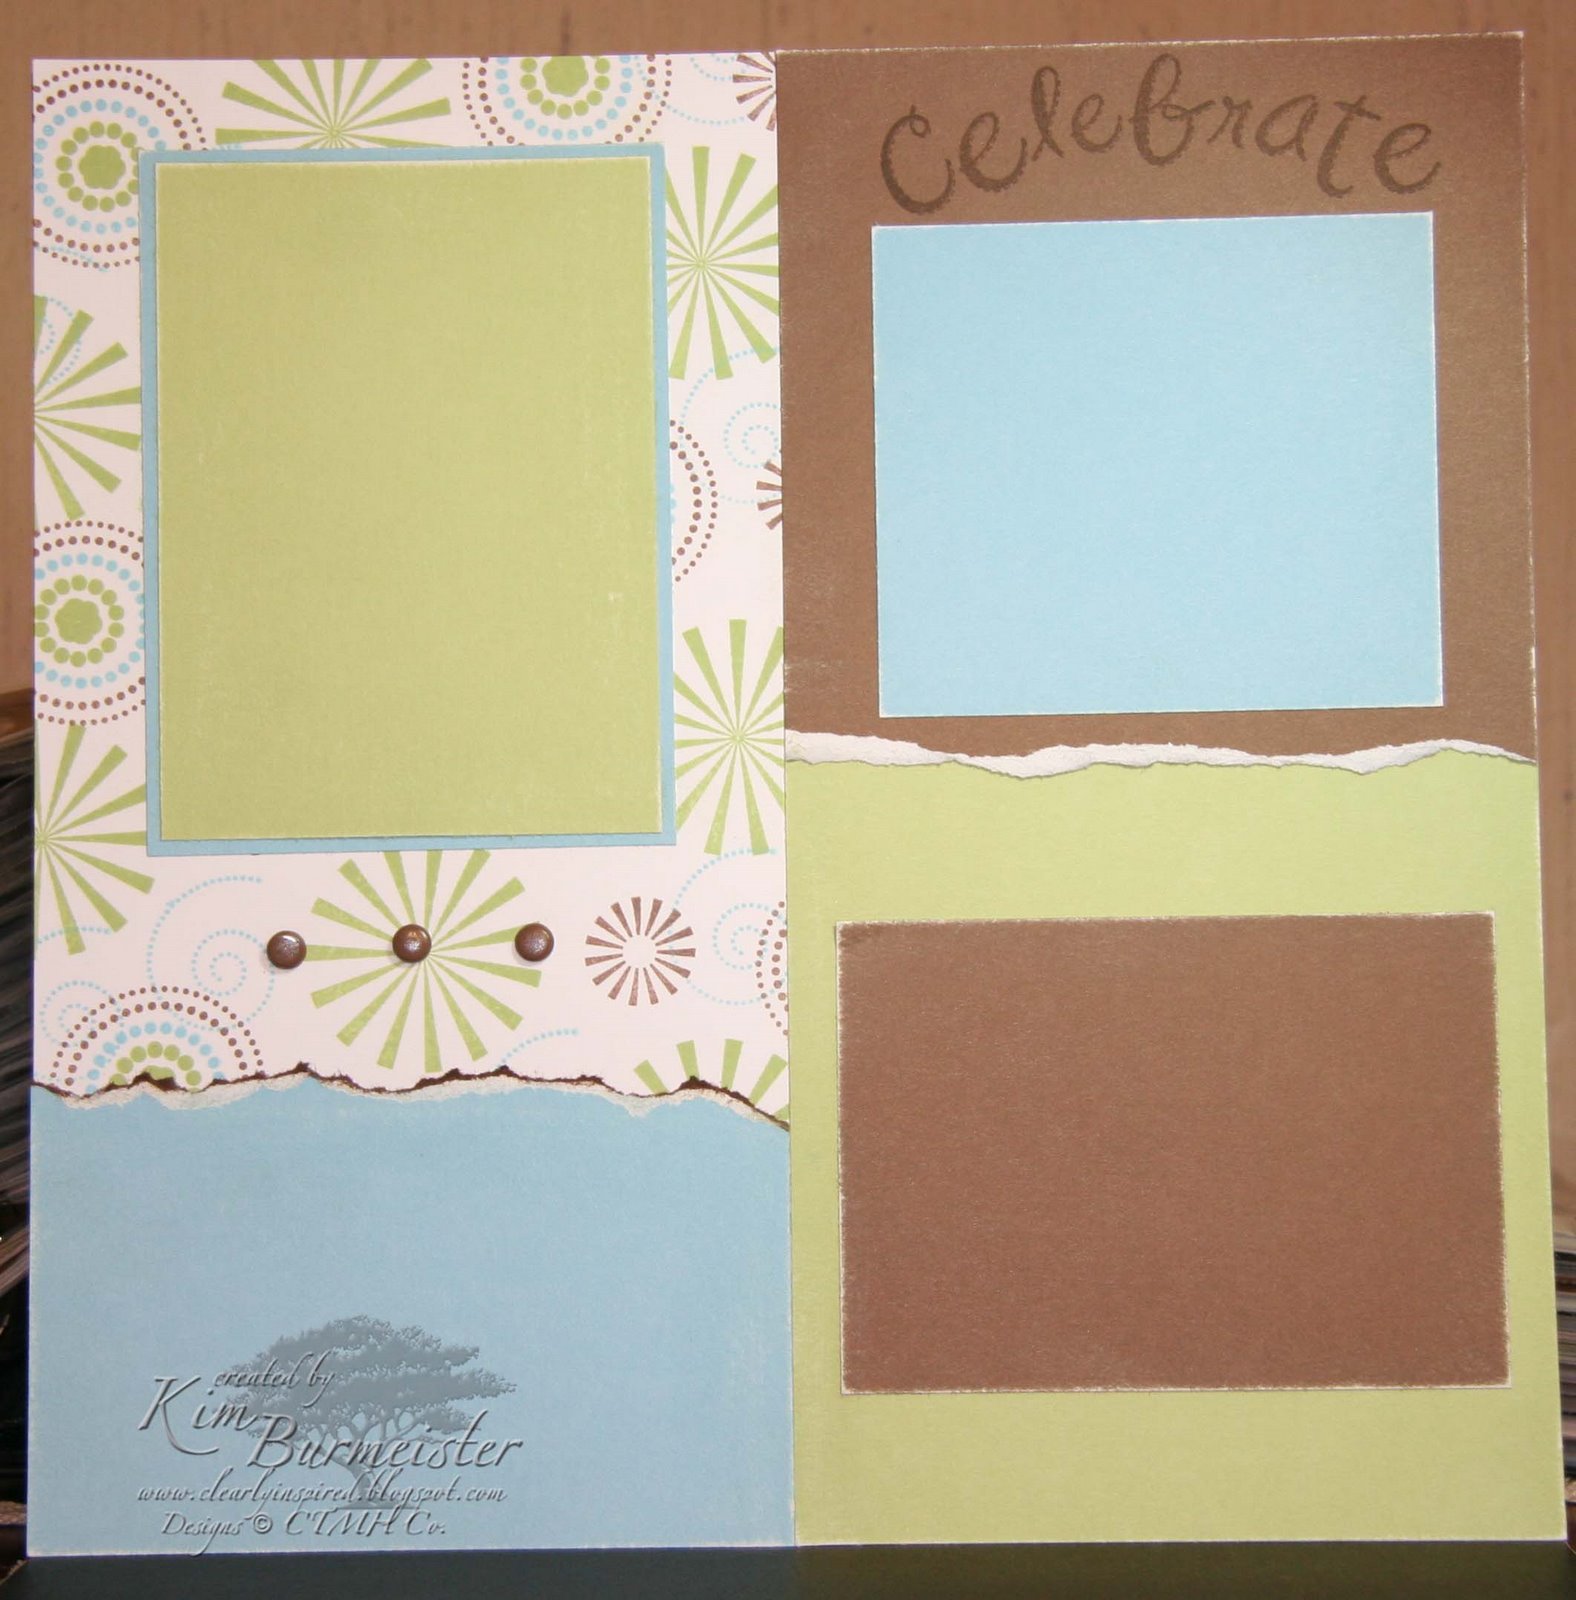
Here is a double page layout that I had posted on the same display board. I am working on replacements with the Free Spirit paper pack.

Page one shows the sanding technique and direct to paper technique.


Page two shows the distressing with black stubble tool and cocoa ink and direct to paper ink technqiue.


On my last post, I forgot to include the stamp set I used, which was Little Girls. I was in a hurry to go to bed early and forgot to write that. Sorry! My wonderful DH put the boys to bed, so I could go to sleep early and I got to sleep at 8 p.m. YEAH! I felt so refreshed in the morning. I think I was a little too peppie for everyone in the morning. I kept singing and dancing around. I had a reason...our wedding anniversary was Tuesday, November 20th (8 years).

I hope to post Wednesday night for Thursday, but I don't think I will have anything for Thursday night.

Happy Thanksgiving to you and yours!


Technique Tuesday - Chalk Popping

I thought I showed you chalk popping already and I was going to show it to you again. When I reviewed my the techniques, it didn't pop up (no pun intended). I really like this one and you have seen it on the boy theme...Boys Rule. I have been working on my themed layouts and created a girl theme. My good friend, Jeanne wanted to see one, so I took the Boys Rule layout and used girl colors and a girl stamp set. Here are the instructions for chalk popping and the themed projects:

Chalk Popping
  1. Ink up your stamp with Versamark
  2. Stamp your image on your page
  3. Rub chalk over the image with a cottonball
  4. You can use many different colors or just one
I hope you like my Cutie Pie theme. This one will be offered when the boy theme is offered, and the guests will get to pick which one they want to create.


Now, it is your turn!

Happy Stamping!

Vintage Christmas theme

Here is one of the other themes I wrote about yesterday. This card and tag will be created at a gathering I have on December 3rd. I did not design the card. My upline, Chris Shouse, sent this out last year, and I used it as my inspiration for this theme. My stamp sets are Vintage Christmas and Victorian Snowflake. Oops! I think I called this Vintage Snowflake yesterday. Well, it is the one I said is a must, so make sure you scratch off Vintage Snowflake on your wish list and replace it with Victorian Snowflake...hee hee! Sorry!

Hope you like this theme! I still would like to hear more ideas for themes. Jeanne reminded me of little girls. I forgot to say I am going to make a princess layout, but I have to order the stamp set. I haven't had a need for little girl stamp sets until now.


Have a great weekend!

Little Boy Theme Party

Here is one of the new projects I am starting next year...themed parties. This is one of the suggestions I took home from convention. I am going to offer hostesses a choice of a themed party. They will pick a theme and then choose what they want their guests to make from one of the following:
  • A 12 x 12 layout or
  • A card and gift tag or
  • A gift bag and gift tag
This is the first one I made. I got this design from Tiffany Cheney, a very talented Independent CTMH consultant. She had this layout, gift bag and card listed on our consultant bulletin board. I just added the gift tag to match the collection. I printed her pictures and made a set for examples to show my hostesses. I hope they like them. The layout features chalk popping. The main stamp set featured is Little Boys.


I would love to hear from you about any ideas you have for themed parties. Please leave your suggestions in the comments. Here are others I am working on:
  • Vintage Christmas
  • Outdoors/Camping
  • Easter
  • Birthday
  • Girls Night Out
  • 4th of July
  • School Days
Thanks for stopping by!

Holiday Album

Holy Moly! I almost forgot to post tonight. I was taking some online CTMH classes and was shutting down my computer, when I remembered I hadn't shown you the awesome 9 x 9 holiday album we created at convention. I have been saving this for last, because I think it is so cool and it was easy and fun to make.

We used the Everlasting paper pack, which has become one of my favorites and Holiday Joy and Victorian Snowflakes stamp sets. Oh, the bling adds just the right touch. This is the first time I got to use the new lowercase chipboard alphabet too! It is all soooo good! Life is good! I didn't put pictures on mine yet, because I might wait for this years. Enjoy this eye candy!

Here is the front cover! We inked the chipboard letters on the front and back cover with a sponge and cranberry ink. You should see this in person...it is even better in real life!


First and second page after the cover! Look at all that bling! This snowflake runner is so easy to make it look seamless. I really, really, really suggest this stamp set (Victorian Snowflake), if you haven't purchased it already.


These are the last two pages. Those stockings are so stinkin' cute! We were able to bend the flourishes to make them look like photo corners, because the stamp sets are acrylix.


Last but not least the back cover! We finished the wish with a little bling and ribbon. Wow! I can't wait to get my pictures on this to display for the holidays.


Thanks for stopping by and Happy Stamping!

Technique Tuesday - Masking


Masking is a great way to layer stamps. I used this technique on this A Season of Gratitude card. I layered two of the leaves. The only extra supply you will need is a sticky note. Here are the directions:

Masking
  • Stamp the image you want to be in the foreground of your layers.
  • Stamp this same image on a sticky note. Make sure you stamp the image at the top of the paper, so the sticky part has some of the image on it.
  • Cut out the image on the sticky note.
  • Put the sticky note image on the stamped image on your card or layout. Ink up the other image and stamp part of it on top of the sticky note image.
  • The sticky note will protect your image underneath and when you lift it off the paper it will reveal a layered look.
  • Reuse the sticky note image as many times as needed until it does not stick anymore. You can keep this mask with your stamp set for the next time you want to mask.
Now, it is your turn!

Happy Stamping!

NO STAMPING

This layout was completed entirely without any stamping. Oh My! I actually did it! I can't believe I finished a layout with no stamps. I am so happy to know it can be done. Or at least I can do it with the help of my new little friend....My Stickease!

Here is the layout we made with the Free Spirit pack that is supposed to be for boys. YEAH! Finally, more boy "stuff". I can never find enough paper and embellishments for my boy scrapbooking stash.

We played with the creative clips that were new to the CTMH collection this year. I hadn't used them yet and was happy to see you don't have to do a lot to dress them up, if you don't want to. We used the My Stickease on the tops of both clips and slip them under the picture mat. Can you believe it? I didn't add anything to this page, once I got home.


I can't say that about the second page; however, all I added were the arrows and the "Look Out!" that are both from the level 2 My Stickease pack. I have to get more My Stickease.


Oh, you will have to wait until next week for the rest. I didn't realize Friday was here already!

Have a great weekend and take time to stamp!

FRiEnDs

I know I normally participate in card sketch challenges on Wednesday from Splitcoasters, but I want to share my convention artwork with you this week. For those of you who scrapbook, you will love the next three days, since I have three more layouts to share with you including this one.

This layout was created with the new Free Spirit paper pack from the fall/winter catalog. This was my favorite paper pack when I got my new catty, because I love, love, love orange. AND my two favorite colors with orange are blue and brown. I haven't had time to play with my paper pack at home, so I was glad we used it at convention. The layouts we created were awesome, especially since 350 consultants were working at the same time. That is a lot of people with different skills and experience working together. I thought corporate did a great job on creating layouts for such a big group.

This layout was to show how you can make this paper packet work for a girl or boy layout. Even though this layout has flowers on it, I used it for my boys. The flowers remind me of sunflowers. I really like this one. Layouts with various sized pictures always catch my eye. The saying was printed on adhesive backed twill and given to us from corporate in our kit. That is the nice thing about the twill....you can do so much with it, since it already has adhesive on it. The FRiENdS title is from the My Stickease set that goes with Free Spirit. Each Level 2 My Stickease comes with letters, so you can complete a layout easily. Once I got home, I added pictures, photo clips, button heads and the small spiral. You wouldn't have had to add to this layout, but I just can't seem to leave a layout alone. By the way, the little boy sitting in the chair with Tate and Tanner is their cousin Ben.


This is page two where I used more My Stickease at the top of this page. The little tag is from Memory Labels stamp set. We stamped it on adhesive backed twill with autumn terracotta and cocoa ink. The words across the bottom are from this same stamp set. I was so lucky last weekend, because we got to play with this stamp set. In fact, all the stamp sets I will be showing we got FREE, yes I said FREE from corporate. I love my job!


Happy Stamping!

JOY

Again, I had so much fun this last weekend that I can't quit talking about it. I love it when someone I haven't talked to since last week calls and asks me how my trip was. I get to tell my story all over again!

We made four two-page layouts on Saturday just for starters. This one incorporated CTMH chipboard letters that we covered with Everlasting paper and we used the new ribbon rounds. I was on the fence about this stamp set, Victorian Snowflakes. I am so glad I got to use it. It is one of my favorites from the Fall/Winter catalog. I saw so much artwork completed with this stamp set. It is so pretty when used with prisma glitter. You will see it again, when I post the Holiday 9 x 9 accordion album later this week.


This is the second page of the layout. We used the new foundry frames and bling on this page. I tell ya...I love bling on layouts and cards!


I haven't had time to print pictures for all the layouts I am going to show you. I will be scrapping on Saturday night at my house, so I will take the time to print them then.

Happy Scrapping!

Technique Tuesday - Dry Embossing

I'm baaaack! I had so much fun at convention and created a lot of cool artwork that I can't wait to show you. However, it is time for technique Tuesday, so you will have to wait one more day. This is soooo easy and makes a card or layout look great. You can dry emboss with so many products. I chose to make straight lines that you can make using a Scor-Pal, your Fiskars paper cutter and scoring blade or an empressor guide and tool. Here are the directions:

Dry Embossing
  • Take your cardstock and place it on one of the above items. You will need to decide on spacing.
  • Drag your scoring blade, empressor tool, Scor-Pal tool or even a dry embossing stylus along the edge or groove.
  • Keep moving your cardstock with the same spacing or varied spacing. You can stop at straight lines or make a grid. The possibilities are endless.
  • Lightly sand the paper to bring out the design. Do not sand too much. You don't want to rub off the raised lines.
Here is the card I made today using this technique. I left it simple, so you could see the background. It doesn't need a lot to dress it up.


For this card I used Give Thanks and Nature's Vein stamp sets. The colors are barn red, cranberry, goldrush, autumn terracotta, garden green and olive. I stamped Thankful on a spectrum pad.

In addition, here is one page of a layout I did a while ago that shows this same technique.

For this layout, I used solo "t", and Essential Alphabet and dimensional letters. The colors are moonstruck, clover meadow and grey wool.

Now, it is your turn!

Stop by over the next few days and see what I created at convention. It was awesome to create with 350 fellow consultants. I got a lot of new ideas!

Happy Stamping!