Pages

Showing posts with label It's A Party. Show all posts

happy birthday

I didn't plan on making a birthday card today, but my DH asked me to make a birthday card for one of his employees.  Yippee!  What could be better than your DH telling you to play with your stamps?  

I am totally out of birthday cards in my stash, so I am going to need to create some to get a supply.  Maybe I will try a 10 from one again.  Hey, Terese want to help?  LOL!  My friend, Terese, hates 10 from ones.

If you don't have a cupcake stamp, it is a must buy.  This one is Cupcake Sprinkles by CTMH.  One of my favorite sets from the spring catalog.  I put glitter on the cupcake and you can't see it that well in the pic.  It looks a lot better in person.  You can click to enlarge it.  The sentiment inside reads "CELEBRATE".


Materials used: All products CTMH unless noted.  Paper - Emporium Level 2 set; Stamp sets - Happy Birthday, Cupcake Sprinkles, It's A Party; Ink - crystal blue, sweet leaf, buttercup; Accessories - sparkles, prisma glitter, round tab punch (SU), pop dots (unknown), concave punch (EK Success), heavenly blue brads

Happy Stamping!

Tutorial Tuesday - Criss Cross Card


Here is the No Waste Criss Cross Card I posted last week. These directions are from Lynn Birus, who posted the directions on SplitCoastStampers. These are so easy to make and you don't waste any paper to make the criss cross section. YAY!


Happy Stamping!

Criss Cross Invitation

I made this a few weeks ago. It is the template I am going to use for my hubby's 40th birthday party celebration this year. I am going to change the base to Cranberry; otherwise, everything will stay the same.


I used It's A Party stamp set, which is a favorite of mine. The paper is from Birthday Bash (retired). You can click on the pictures to see the detail.

I have this on my list of video tutorials, because I found directions where you don't waste a lot of paper making a criss cross card. I can't find the author's name of the directions I have right now. I am going to to try find her name before I complete the video, so I can give her credit. If I can't, I will have to hope someone knows her and will let me know her name. Her directions are named "No Waste Criss Cross Card".

Happy Stamping!

"It's A Party" complete theme

First, I can't believe I forgot to post last night. I had a Christmas themed party last night and was concentrating on getting ready for it during the day. During the party, I remembered I needed to post and when it was over....I forgot. I had so much fun at the party it was wiped from my mind. I just love sharing CTMH and what I do with others.

Here is the rest of the It's A Party theme. Remember that Tiffany Cheney designed the layout, card and gift bag. I just designed the gift tag for another option for hostesses. This theme was ideally for a "It's a Chocolate Party". I just took Chocolate out of the saying. I think it would be a great idea to host a chocolate party and make one of these great projects. The hostess could serve all chocolate goodies. How fun?! I hope a hostess does choose this one, since I can't say no to chocolate. LOL!


Anitalee, I am sorry, but I don't make these as two-page spreads. It would take too much time at a party to make both pages.

The hostess chooses one of these for her guests to make:
  • layout
  • card and gift tag
  • gift bag and gift tag
At last night's party, we made the Vintage Christmas card and gift tag. To see those again, click here.

Oh, Technique Tuesday will resume next week. I don't think I will forgot two weeks in a row.

Happy Stamping!

It's A Party

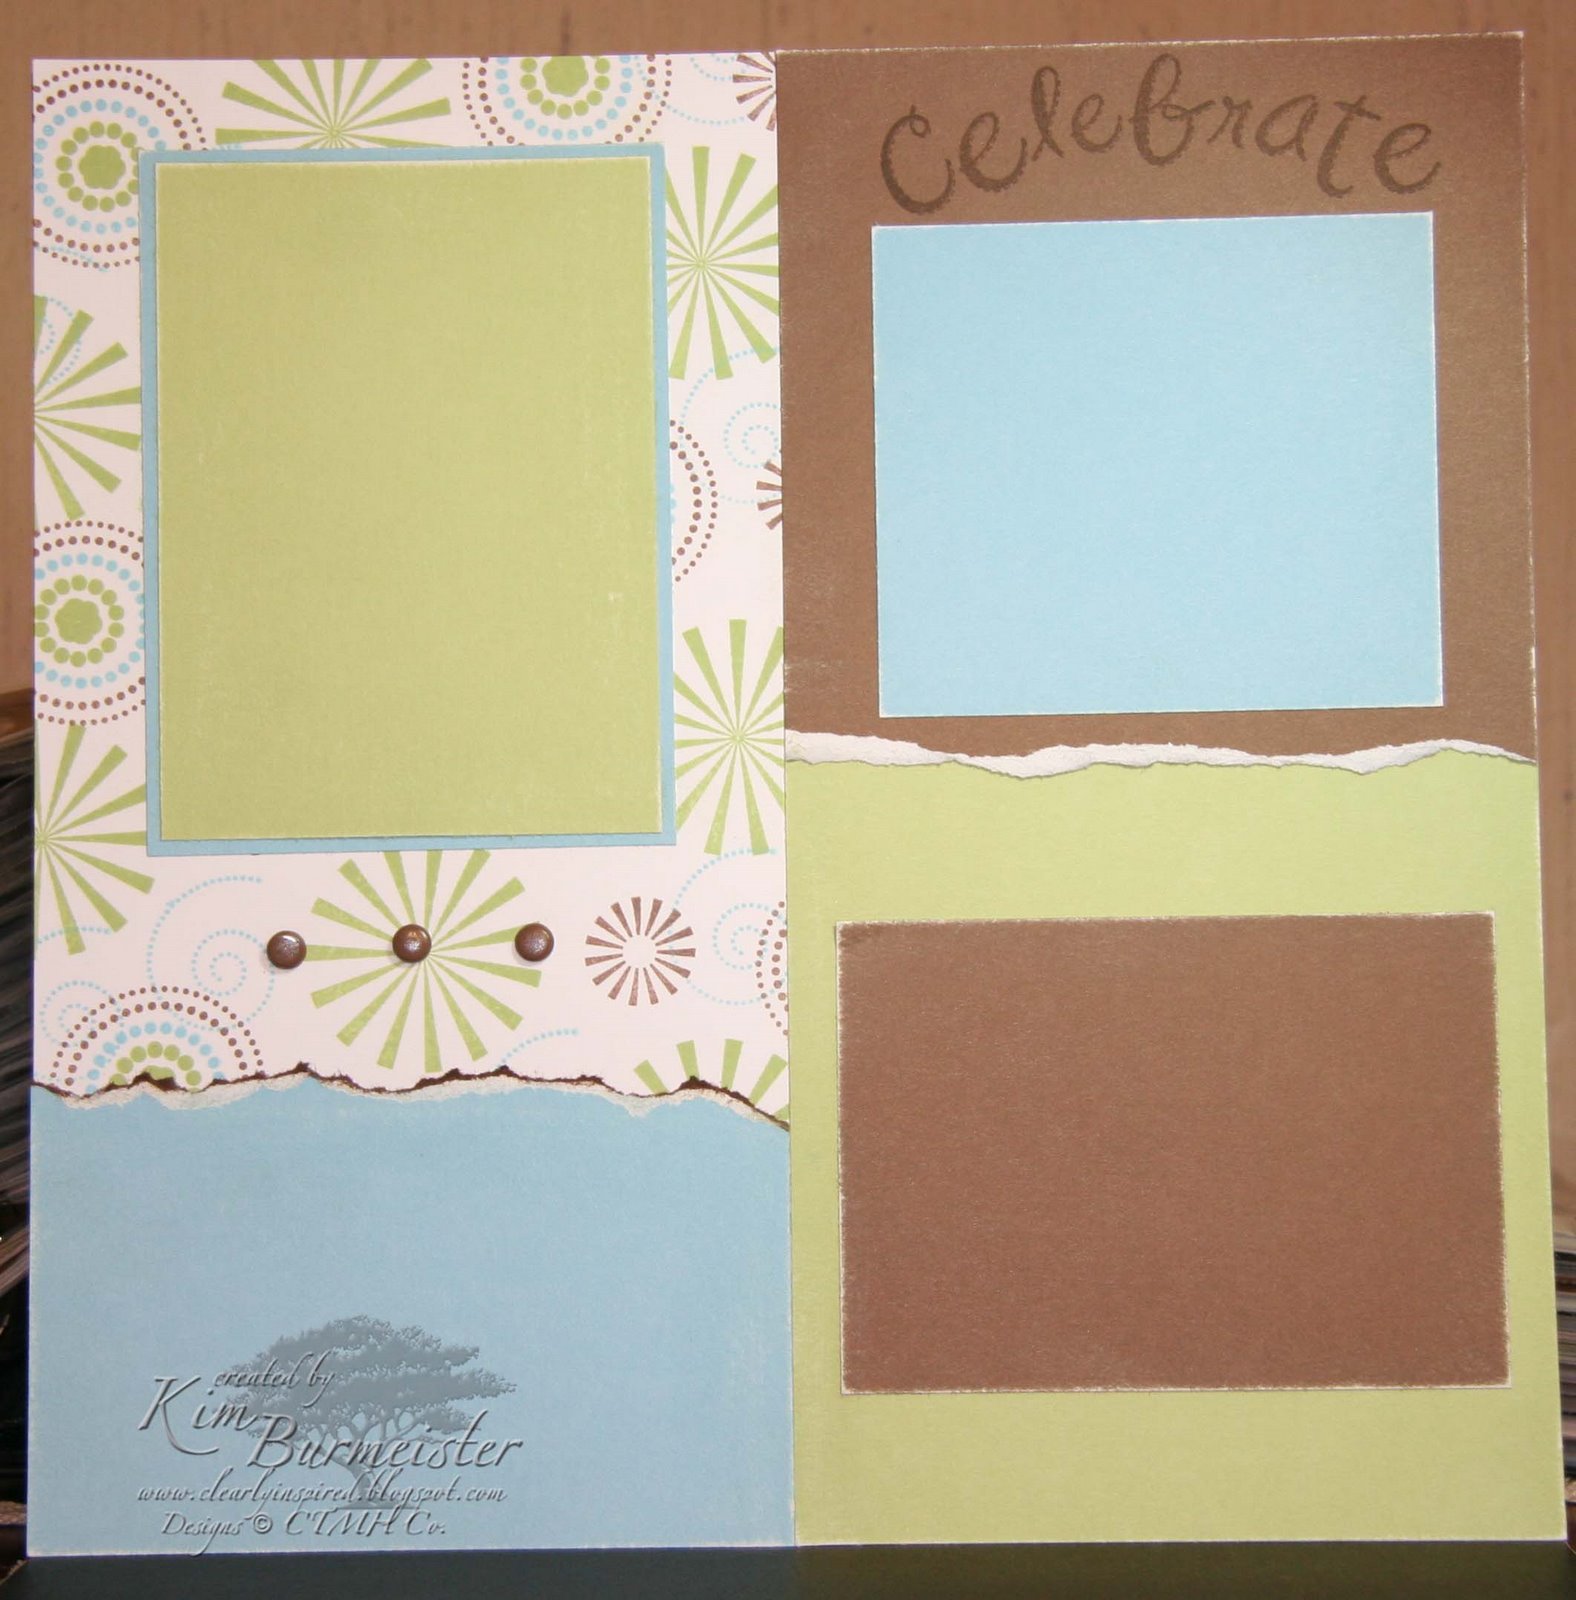
Here is a layout for another themed party I am working on for hostesses. Tiffany Cheney designed this one too! I used the It's A Party stamp set and the following colors: chocolate, crystal blue and sweet leaf. I really like how the pattern background turned out from random stamping images from this stamp set. The different colored rings were one stamp set. The great thing about acrylix is that you can cut them apart. I used my xacto knife and slowly and carefully cut the two inner rings out, so I could stamp them a different color. YEAH!


I will have the rest of this theme done to show you next week!

Have a great weekend and find time to create!

Technique Tuesday - Edge Distressing

This is one of the techniques I am dispalying on the Paper Distressing Endless Possibilities boards I am working on for another gathering choice next year. Distressing the edges of paper is popular and makes cards and layouts look so rustic. I took this 6 x 6 card idea from a 9 x 9 layout corporate created. I used the Caprice Paper pack and It's A Party stamp set. The colors used honey, crystal blue and chocolate.

Edge Distressing
  • Hold your piece of cardstock in one hand and the edge distresser in the other.
  • Run the edge distresser up and down the edge of your cardstock until you get the desired look.
  • In addition, you can use your scissors instead of your edge distresser. I prefer the edge distresser, so I don't cut the paper.

As you can see the three pieces of cardstock have been distressed. I used the new CTMH edge distresser, which is only $1.50. It is totally worth it! After distressing the piece of colonial cardstock, I ran it over my chocolate ink pad. I finished the card off with sunflower just bloom flowers with buttons and crystal blue organdy ribbon.

Now, it is your turn!

Happy Stamping!

Open House Create-N-Take

Does this card design look familiar? Well, it is from the Legendary Goodness card my upline, Chris, designed for us at one of our team meetings. I used this design, because I was pressed for time to make something for my Open House/Crop Friday night. I didn't start this one until 2:30 p.m. Friday and the Open House started at 7:00 p.m. and still had cleaning to do. My sister didn't help by saying, "You don't have that done yet!".

I wanted to make a birthday card, because everyone uses those, and I wanted to use a new paper pack. I like it, because it could be used for men and women. You should click on the card to see the details. Here is the recipe:

Paper - Enchanted Level 2 paper pack; smokey plum, autumn terracotta, and colonial white cardstock.

Stamp sets - It's a Party and Happy Birthday

Ink - smokey plum, cranberry and autumn terracotta

Accessories - sanding block, foundry plates (sanded), natural twill ribbon, cranberry edge anchor, autumn terracotta photo clips, sponge daubers, black stubble tool

Happy Stamping!

Let's Get Together

This is a new card design for me. I saw this on another blog and just had to try it. The card is 4 1/4 x 5 1/2; however, the front is scored at 2 1/8 and folded back. You can see the card opened below to see what I mean by folding the front. I used Let's Get Together paper packet and Delight In Everything stamp set. I think it would look a little better if I had used the same section of pattern paper, so the lines came together. Again, I was using my scraps. I will have to remember this the next time.

Another first for me was using my conchos to tie the ribbon through my card. The ribbon is from the designer ribbon rounds which match the paper and stamp set perfectly. The colors I used were breeze, cranberry, buttercup, garden green and colonial white, white daisy and breeze cardstock. The conchos are buttercup and the brads are Paper Crafts (non-CTMH), but match the cranberry color. I finished the card with a little bling again. Oh, I almost forgot I used my concave punch on the main image. My sister finally broke down and bought one of these too! These little punches are hard to find in local stores. She had to order it online.

Here is the opened card to show the sentiment "Happy Birthday to you" and a few stamped flowers inside. I liked making this new design. I think I will have to create more of them. Sorry the color isn't as good on the second picture. My camera just doesn't flash when there is a lot of white.

My youngest son, Tanner's, birthday is a week from today, so watch for a chance for blog candy soon! He will be three years old. He picked out his cake today and of course, he picked what most three year old boys pick...Light McQueen from the CARS movie. Have you seen this? I really like this one. Mater is hilarious. If you have ever seen Larry the Cable Guy's act, Mater IS Larry the Cable Guy!

Thanks for stopping by!

Technique Tuesday - Shaving Cream

Do you have your sunglasses on? Well, you better get them when you get to my card below. BRIGHT!

This technique is a little messy, but it does look nice. The 6 x 6 layout was created by April Kegg, CTMH Independent Consultant. Here are her directions:

Materials
  • cardstock (I used glossy paper.)
  • shaving cream (not gel)
  • 1-3 re-inkers
  • cookie sheet covered with foil (I used a paper plate.)
  • small shower squeegee (I used a popsicle stick and paper towels.)
  • lots of paper towels
Directions:
  1. Squeeze enough shaving cream onto the foil covered cookie sheet as big as your piece of cardstock.
  2. Sprinkle a few drops of the re-inkers into the shaving cream.
  3. Use a straw or paint brush handle to swirl the colors. (I used a popsicle stick.) Do not mix too much or colors will combine and you will have a solid color.
  4. Place cardstock straight down into the shaving cream. Press to get full coverage.
  5. Gently pull up and lay onto a clean paper towel. Use the shower squeegee to remove the access shaving cream and behold your masterpiece. (I used paper towels to do this.)
Viola! Put your sunglasses on...here is the card I made with this technique. I used watermelon, ocean and citrus leaf re-inkers. I made a 6 x 6 card (first one for me), because the piece of glossy paper was bigger than a 4 1/4 x 5 1/2 card. I didn't want to cut it.

Guess what? I didn't use glossy cardstock from my scrapbook supply. I used a piece of glossy photo paper that was left over from printing pictures. I got this idea, because I hate throwing away this paper. Sometimes I only use a small piece of the 8 1/2 x 11 sheet of Photo Paper plus glossy. I think it worked perfectly.

I used white daisy pigment ink for the Celebrate sentiment. I heat set it with my embossing gun to ensure it was dry. It takes a long time for pigment ink to dry and I am not patient enough to wait. I used white embossing powder on the party images and brads in the middle of them. I finished them with pop dots, so they would jump off the card. Other supplies I used are listed below.

Okay, you can take your sunglasses off now. Well, you better wait until you look away from the screen...LOL!

Supplies used: Paper - white daisy, watermelon, ocean and kiwi cardstock, glossy photo paper; Ink - White Daisy pigment ink; Stamp set - It's A Party; Accessories - white brads, white daisy bigger brads, white gel pen, American Crafts ribbon, white embossing powder.


Now it is your turn! Happy Stamping!

Happy Birthday Bling


I made this card as the make-n-take for a gathering that I have in September. The design is from the card originals program that CTMH carries in their catalog. The design is named Peek-A-Boo in the 5 x 7 section. I made a 4 1/4 x 5 1/2 card and adapted the measurements to my card.

This card is a simple design and easy to make. I don't like the make-n-takes at a gathering to be too difficult, because there is usually a lot going on that evening.

Supplies used: Paper - white daisy cardstock, Birthday Bash pattern paper; Stamp sets - It's A Party, Happy Birthday; Ink - sunflower, clover meadow, holiday red, star spangled blue; Embellishments - white daisy grosgrain ribbon, rhinestones from JoAnn Fabrics (unknown company)


Have a great weekend!